In the bustling world of digital creativity, an efficient video editing workflow is not just a preference but a necessity. Adobe Premiere Pro is a powerhouse tool that many professionals rely on, yet leveraging its full potential means delving into techniques that enhance speed and efficiency. This guide unveils five pivotal tips that can transform your editing routine, allowing you to devote more attention to the creative essence of your projects.
Maximise Efficiency with Keyboard Shortcuts
Embracing keyboard shortcuts in Adobe Premiere Pro is akin to discovering a hidden arsenal of productivity boosters. These shortcuts are quintessential for minimizing repetitive motions that consume both time and focus. The beauty lies within their simplicity and adaptability, allowing editors to tailor them to fit their unique workflow.
- Increased Speed: Using shortcuts diminishes the need to navigate through complex menus. For example, employing Ctrl + K (or Cmd + K on Mac) instantly cuts at the playhead.
- Enhanced Focus: With shortcuts like V for the select tool or C for the razor tool, editors can maintain their concentration on the timeline, enhancing both precision and efficiency.
- Reduced Fatigue: Simple commands such as the spacebar for play/stop help reduce the reliance on a mouse, mitigating fatigue from long editing sessions.
Customizing these shortcuts is a personal touch that can further streamline the editing process. By visiting Edit > Keyboard Shortcuts, you can search for commands and set them to your preferred key combinations, tailoring Premiere Pro to your particular style and needs.
Staying Organised with an Intuitive Project Structure
Organisation is the backbone of a smooth video editing experience. Disorganized media files result in wasted time and disrupted creativity. Thus, establishing an intuitive project structure is vital.
- Colour-Coding: Assign distinct colors to different types of clips such as interviews, B-roll, or graphics. This visual cue allows for quick identification, aiding in a more focused editing session.
- Labelling: Adopt descriptive labels for all bins and clips. For instance, categorize bins by scene, location, or type of shot. This method not only aids in asset retrieval but also improves the overall clarity of your project.
Such meticulous organization ensures that the creative flow remains uninterrupted, facilitating a seamless editing process.
Enhance Performance with Proxy Files
Editing high-resolution footage often puts a strain on systems, causing lag and disrupting workflow. Proxy files, which are lower-resolution versions of your original media, serve as a practical solution. By editing with these lightweight proxies, editors can enjoy smoother playback and more responsive editing.
Switching to proxy files helps to bypass the technical limitations that often hamper creative decision-making. In Premiere Pro, they are easy to implement, making them indispensable for any project involving demanding media.
Adjusting Playback Resolution for Optimal Performance
Another technique to bolster your editing efficiency is by adjusting the playback resolution. Especially when handling high-resolution footage, lowering this setting can lead to a significant decrease in lag.
To tweak playback settings:
- Head to the bottom right of the Program Monitor.
- Select a lower resolution from the Playback Resolution dropdown menu, such as 1/2 or 1/4.
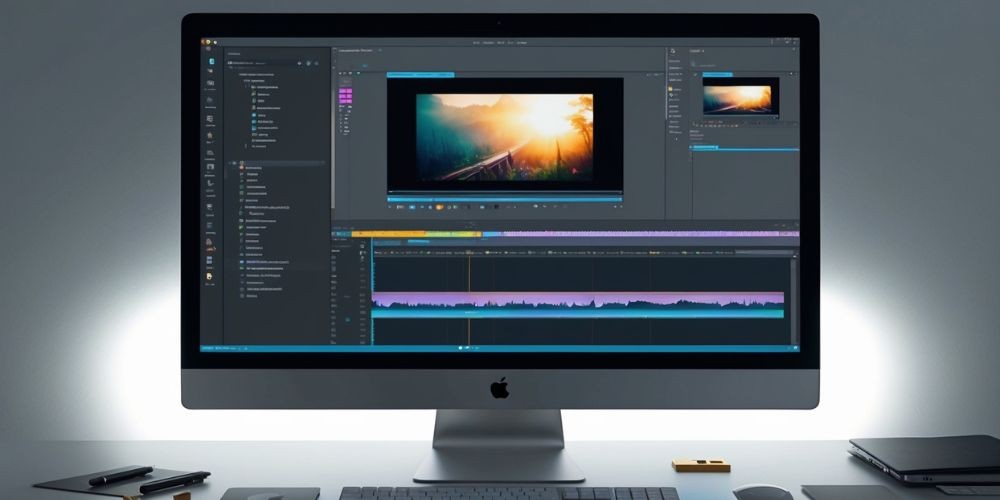
Additionally, ensure that your Renderer settings are optimized. Opt for Mercury Playback Engine GPU Acceleration for better performance when available. These adjustments can smooth out the editing experience, allowing for uninterrupted creative expression.
Memory Management for Speedier Tasks
Effective memory management is critical for improving performance in video editing. Ensuring that RAM is optimally allocated can significantly enhance workflow.
Within Adobe Premiere Pro:
- Navigate to Preferences > Memory.
- Adjust the RAM allocation, reserving lower amounts for other applications, thereby dedicating more resources to Premiere Pro.
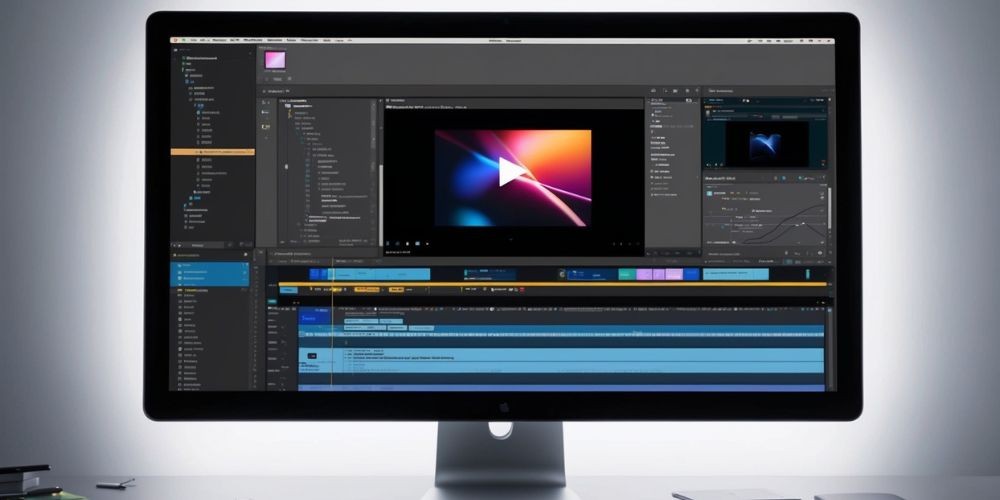
This optimization directly impacts the software's efficiency, leading to faster rendering times and smoother playback, ultimately resulting in a more enjoyable editing experience.
The Path to a Seamless Editing Experience
Integrating these five essential editing tips into your workflow not only optimizes efficiency but also enhances the overall quality of your projects. By mastering keyboard shortcuts, organizing your project diligently, utilizing proxy files, adjusting playback resolution, and optimizing memory management, you lay down a robust foundation for an incredible editing journey. Dive into these strategies and witness your editing prowess transform—it's time to elevate your creative game and meet the demands of a dynamic digital landscape.